8 Tips to Perfect Brisket on a Pellet Smoker
Disclosure: This post may contain affiliate links. If you use these links to buy something we may earn a commission at not additional cost to you. Learn more.
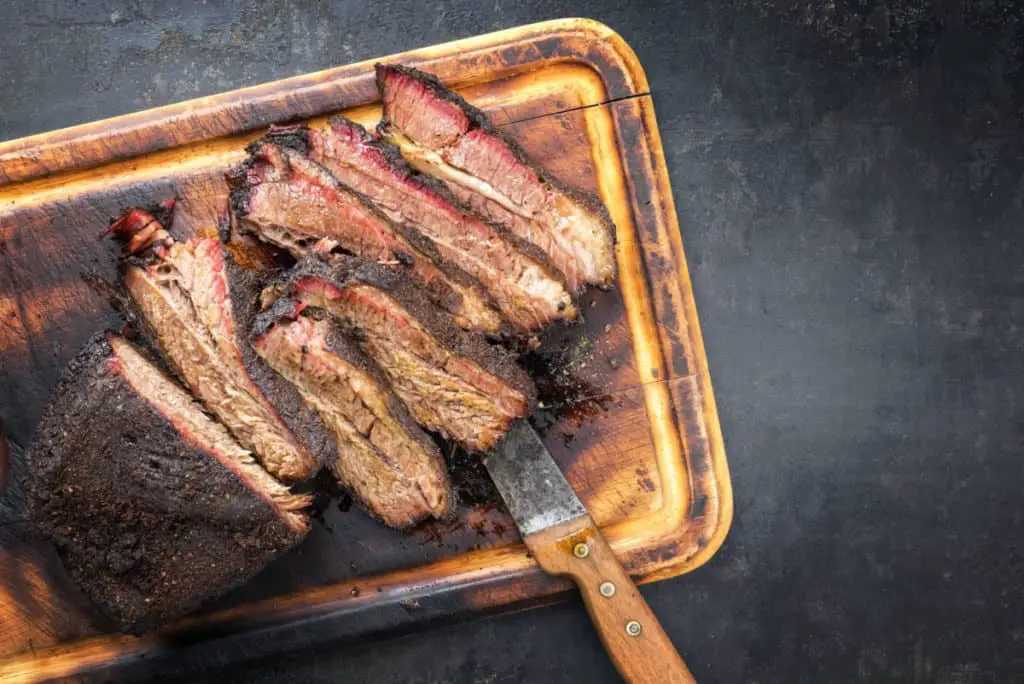
Smoking brisket is the right of passage for every pitmaster. Getting it right can be a big challenge though. There are a lot of differing opinions and a hoard of options that can make the first brisket confusing and stressful. Luckily the use of a pellet smoker already makes things easier. Let’s talk about eight other ways to get the perfect brisket with ease.
1. Pick A Good Cut
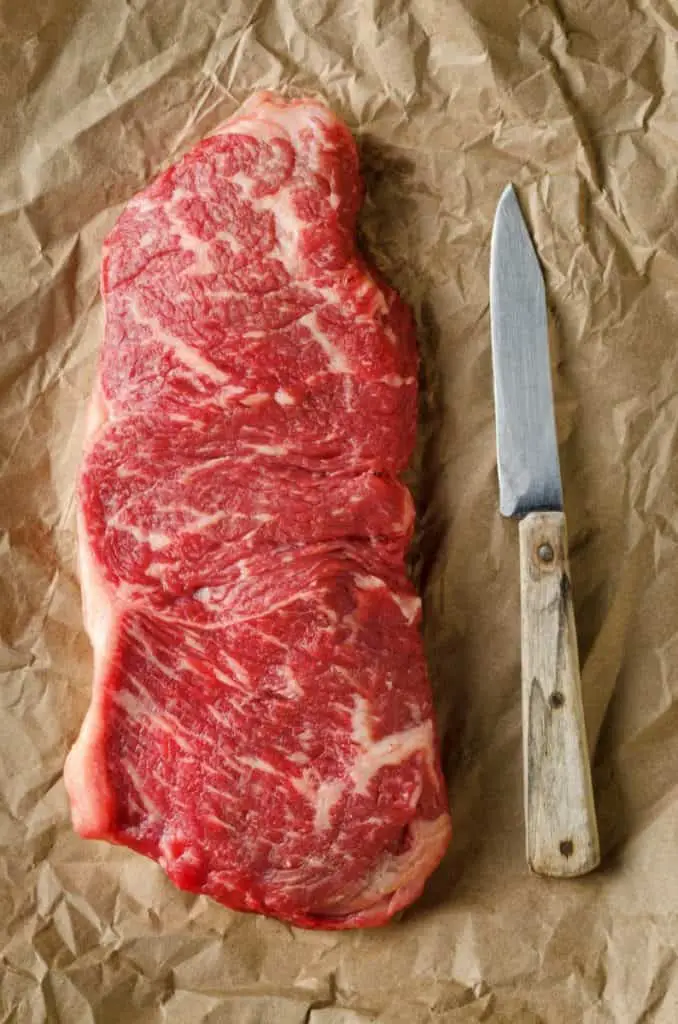
The cut is perhaps the most important part of any good smoke. If you are new to smoking then you will need to buy a good brisket. The better the brisket you buy the less trimming you will need to do. Also the more expensive the cut. You need to buy something you can afford though. Here is a good way for you to test how good the cut is no matter how expensive it is.
In the store, while you are looking for what kind of cut you want, flip it so that the fatty side is on top, and try to fold it in on itself. Bend it so that the muscle side is folding in on itself. If the meat bends well then it is a good cut. This means that there isn’t a lot of hard fat inside the muscle and that the fat inside the muscle will render down and give the cut a lot of tasty juices.
If you buy a cut with a lot of fat, you will end up cutting a lot of it off. Keep that in mind as you search for the proper cut. For those who are new to cut choices here is how it works.
- Anything below Select Grade really isn’t used often. These are grades like standard and cutting. These can be good, but you will spend a whole lot of time trying to make it work.
- Select Grade brisket is the second-lowest cut you can buy. It contains the lowest amount of fat and will be the firmest. You can make this a great brisket if you are willing to put the time in.
- Choice Grade is the most common cut. It contains a good amount of marbling inside the meat. This doesn’t require as much work and can make a delectable brisket.
- Prime is actually a choice grade that has received the prime cut.
2. Cut The Fat
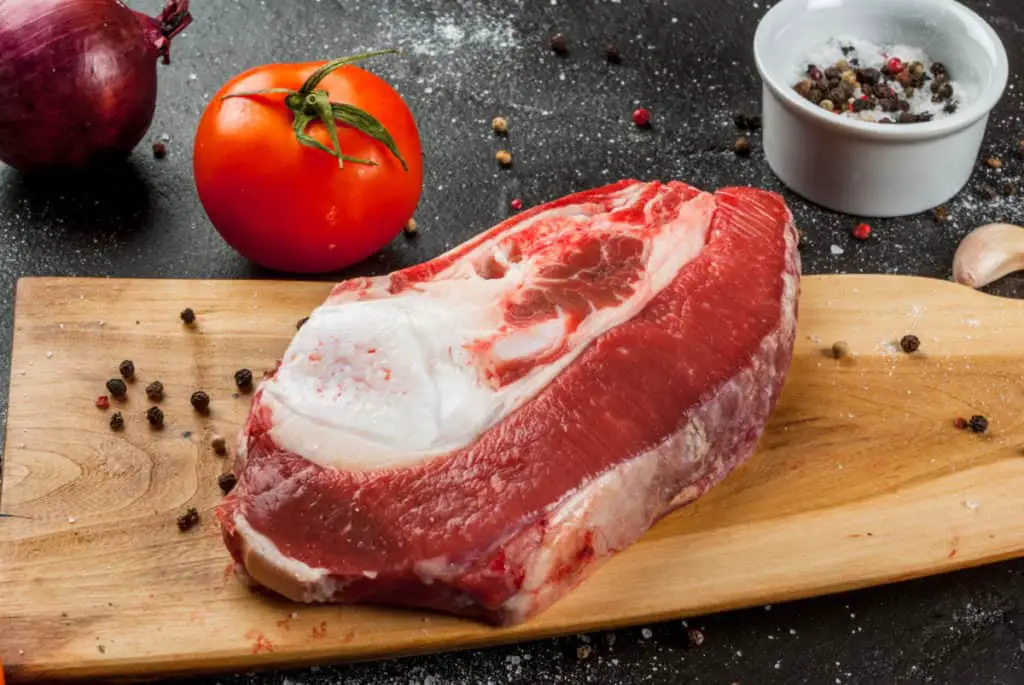
After you find your cut and bring it home it’s time to open the wrap up and start prepping your meat. A lot of people have difficulty with this step because it feels like a waste of meat and money. It’s crucial though for your smoked meat to be properly prepared. You will need to cut away excess fat and muscle.
Your meat will need to have a fat cap. This needs to be about a quarter-inch of fat should cover one whole side of the brisket. The fat cap is crucial to protecting the muscle and encouraging the rendering of the fat inside the meat. This cap needs to be shaped with a sharp knife and any hard fat needs to be cut off. Fats that are brownish have been oxidized and need to be cut off as well. Any section of fat that is more than a quarter-inch thick needs to be trimmed down.
Another section of fat that needs to be talked about is the deckle. The deckle is a very thick, hard section of fat that will not render down when it heats up. It will simply become fatty and chewy. No one wants to eat that. Cut it off. Carve it down with a knife until you see more muscle in that section than fat.
As for the muscles that need to be cut off, this is more for shaping. Cut off any flaps. Flaps will burn up in the heat and give the brisket an unsavory flavor. Any other meat that you cut off needs to be for shape. The thick portion of the meat needs to be rounded into a point.
Save these muscles and fats. You can use them for other dishes. You need to be quick when you start cutting them off. It is far easier to cut fat and muscle when it is cold. So before you start cutting your meat you need to let it chill in a fridge for a number of hours. Start cutting it out as soon as you take it out of the fridge.
As for the fat cap, there is some debate as to whether or not the fat cap should face up or down when you start seasoning and smoking. It really doesn’t make any difference.
3. Season The Brisket
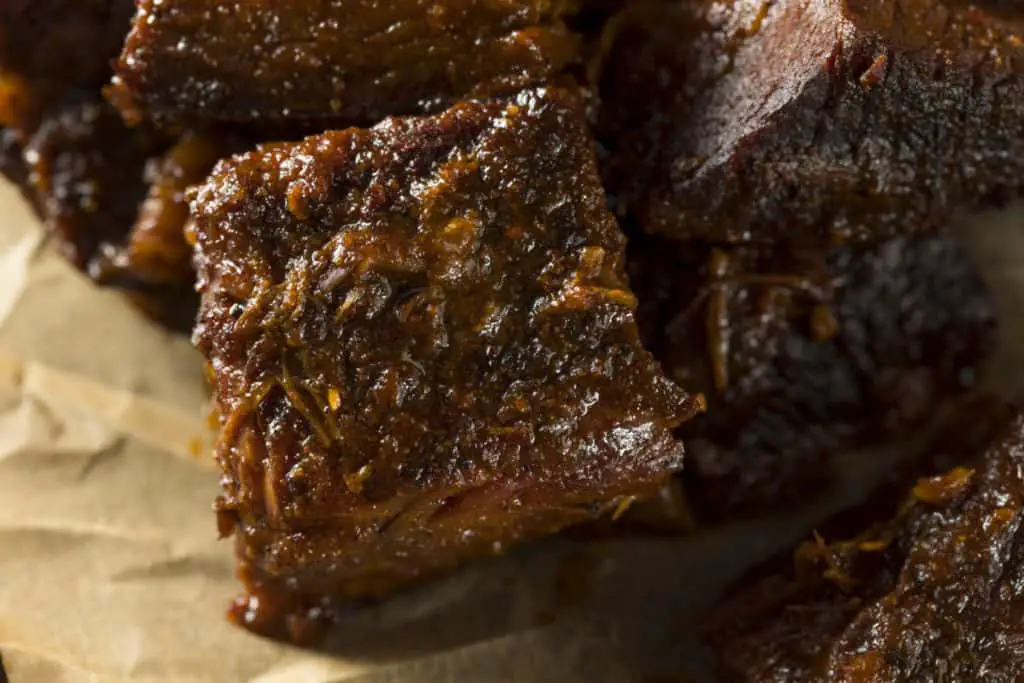
Seasoning the brisket is essential for flavor. This is the step where you get to decide the flavor for your brisket. Salt and pepper are a must. Anything other than that is up to you. This is how you decide the flavors. There are a few ways to go about this. You add seasonings (called rubs), soak it in brines, or do marinades.
You should soak in brines and marinades before you add seasonings. Otherwise, the seasonings and marinades will float off.
Brines are great for moisture and smoke rings. Now, smoke rings really don’t matter in terms of flavor, but really play a big part in making mouth’s water.
To make a proper brine all you really need to do is add flavors to it that you want. Any flavors you add should be water-soluble and completely dissolved before you add your brisket to the brine. If you want to increase your smoke ring you need to add flavorings that have food-grade nitrates and nitrites. Then soak your brines for at least two hours.
Marinades are basically the same as brines, but their purpose is for flavors and not moisture. These are flavorings. You pick the flavorings you want and let them sit in for a couple of hours. Do the marinade after you do your brine.
The last thing to do is season your brisket. The two seasonings you have to have are salt and pepper. Anything else is up to you. Experiment with what you like.
The impact of seasonings will vary based on how you use them. You have to season the side that will be facing down first. This side is less important and will be messed up when you flip it over to season the other side. Make sure That when you season everything you put on is nice and even. Then flip it over and do the top side. After it is seasoned you are ready to put it in the smoker.
4. Get The Smoker Hot
The smoker needs to be up to temperature before you stick the brisket in it. The smoker should be between 230 and 250 Fahrenheit before you put your meats on. Before you put your meats on you need to make sure that your pellet smoker is giving off the proper smoke.
The proper smoke is really thin and should be nearly transparent. When your smoke is clear, you are ready to put the meat on! To get the smoke clear the fire needs to be hot and actively burning. If the fire is smoldering then you will get a lot of thick billowy smoke. This is not good. The more smoke you see the worse your meat will taste.
If your pellet smoker is hot and giving off clear smoke then it is ready to have your brisket put on.
5. Spritz Your Cut
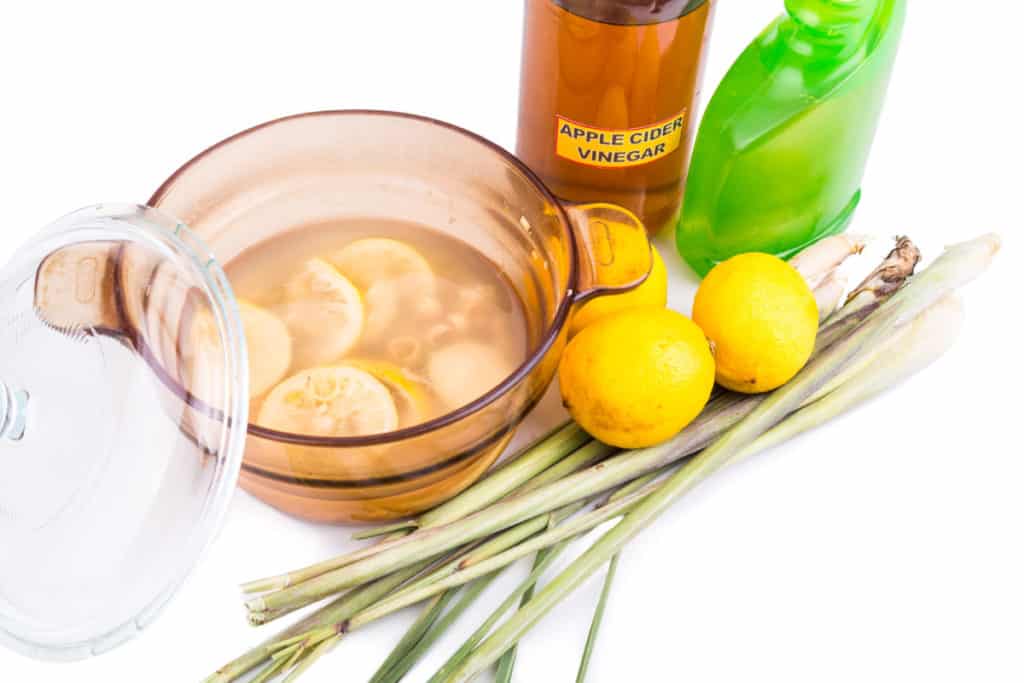
Once your meat is on the smoker, you start to run the risk of drying it out. To combat this you need to do a couple of things. You need to both spritz your meat and add a pan of hot water to your smoker.
Spritzing your meat should happen between every one to two hours. When you spritz your meat you have another opportunity to influence the flavor of your meat. You could use just water, or you can mix up a flavorful solution and use that to spray your meats. Spritzing your meats will help build up your bark if you do not overspray. Providing a nice crispy bark is essential for the taste of your brisket. Luckily there really isn’t much you need to do in order to get a good bark.
The other thing you need to do in order for your brisket to not lose its moisture is to add a pan of hot water to your smoker. This water evaporates and creates a nice humid environment that makes it difficult for the brisket to lose moisture.
6. Pass The Stall
The stall is when the moisture inside the brisket is evaporating fast enough that it is actually cooling the brisket off. If the brisket continues in this manner then it dries out and causes toughness. This is undesirable in brisket. So let’s talk about how to combat this and allow for the moisture to stay inside the meat.
The stall happens at about 160 degrees Fahrenheit internal temperature. That is to say when the inside of the meat is at about 160. Some people like to wrap their meats at this temperature, some people like to wrap them after the stall. Either way, you need to encourage your meat to cook faster than the evaporation is cooling it down.
To do this, you need to first spritz your meats, then increase the smoker temperature to about 280 degrees fahrenheit.
You know you have passed the stall when the brisket’s internal temperature starts to go up again. This is when you have to wrap your brisket.
6. Wrap It Up
Wrapping your brisket is an excellent way to make sure that it doesn’t lose moisture after the stall. When you wap it right after the temperature starts climbing again you protect the flavors and keep the meat juicy.
You can either wrap your brisket in foil or paper. Each serves a different purpose and are used to achieve specific results.
Using paper is a great way to preserve the bark of the brisket. Having a nice bark is a hallmark of many pitmasters and often what people want to see on a brisket. Lay out two strips of butcher paper, about three feet worth, and place them next to each other. Take a third strip of the same length and place it over the seam formed between the two strips of paper.
Lay your brisket on one end of the paper in the middle of the third strip. THis hould be the center point of the three strips. Then wrap it up. Fold the endges into center of the brisket to ensure a complete seal.
Foil is used when you want to add other flavors to the brisket. Doing this is excellent for flavor but not so good for the bark. Adding juices at this point will dissolve the bark give you less of a crunch. If done right though, this a great way to enhance the flavors.
All you do is make a boat out of foil. Place your brisket in it. Add any flavors and juices to it, then cover the brisket in foil.
No matter how you wrap your brisket, you always place it back in the smoker. Only after the internal temperature reaches about 200 degrees Fahrenheit is your brisket done. After it reaches this temperature then you can take it out, test to see if the result is what you like, and let it rest.
8. Let It Rest
There are three tests that show a brisket is done and ready to rest.
The first is how floppy it is. Pick your brisket up in the middle. If it bends easily then it is likely done.
The second is how tender it is. Use a meat temperature probe to check this. Take the probe and stab the meat in the side through the flat and on the side of the point. IF in both places the probe goes in easy and there isn’t much resistance then the brisket is probably done.
The last is the temperature. If you test the meat in two different places, and it reads over 200 degrees Fahrenheit in both areas, it’s probably finished!
Resting your brisket allows for the rendered fats to soak back into the meats and for the meat to continue cooking for up to five more hours. All you do is put the still-wrapped brisket in a cooler for at least two hours. When it is done check the temperature. It should be about 260.
I have included a video that covers all of these steps in detail. It’s a little long but worth the watch. There is a big difference though. The video is smoking on a wood smoker, not a pellet smoker. This isn’t really a problem though because the technique is the same for both. Everything else is applicable and worth listening to.


